
How to Collect Data Through Website Registration?
This document explains the complete workflow for regular users, from registering an account to completing data collection and exporting data. It is suitable for new users using the platform for the first time.
1. Process Overview
Section titled “1. Process Overview”The complete user operation path is as follows:
- Register Account
- Log In
- Create Task
- Configure Target
- Scrape Data
- Preview Results
- Export Data
2. User Registration
Section titled “2. User Registration”2.1 Access the Registration Page
Section titled “2.1 Access the Registration Page”Visit the official website and click the [Go to Console] button in the top right corner to enter the registration page.
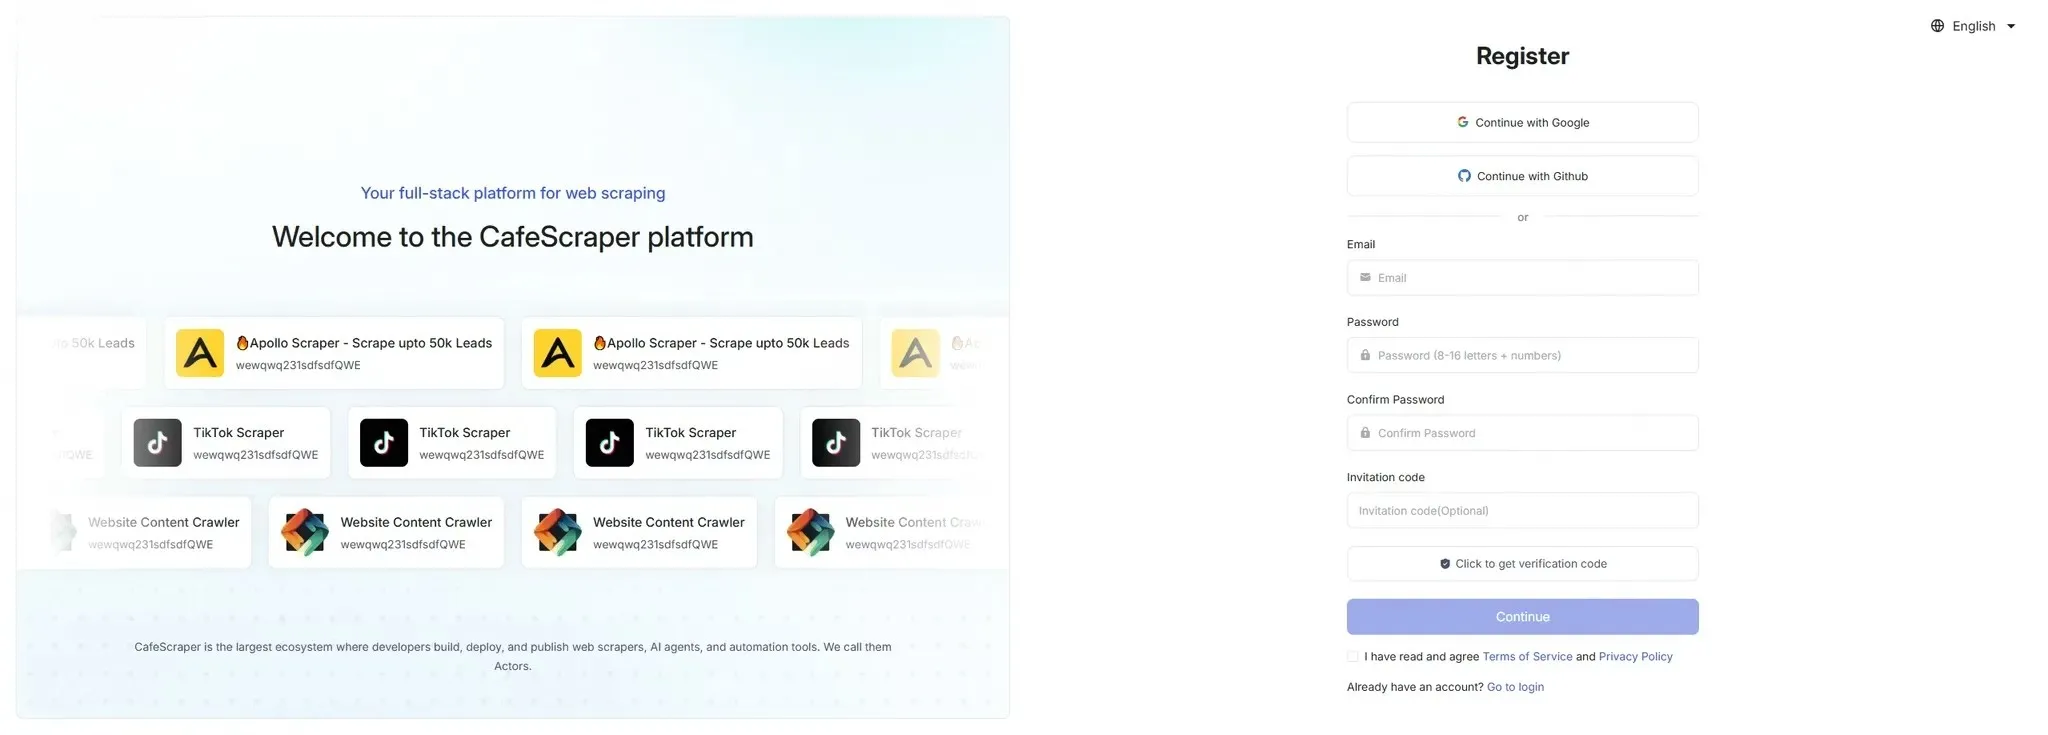
2.2 Fill in Registration Information
Section titled “2.2 Fill in Registration Information”On the registration page, users need to fill in the following information:
- Email address
- Login password
- Confirm password
- Invitation code (optional)
- CAPTCHA
After filling in the information, click [Submit Registration].
Registration is completed after verifying the email.
3. User Login
Section titled “3. User Login”3.1 Log In to the System
Section titled “3.1 Log In to the System”On the login page, users enter:
- Username
- Password
Click the [Login] button to enter the system.
The platform also supports Google and Github login without registration.

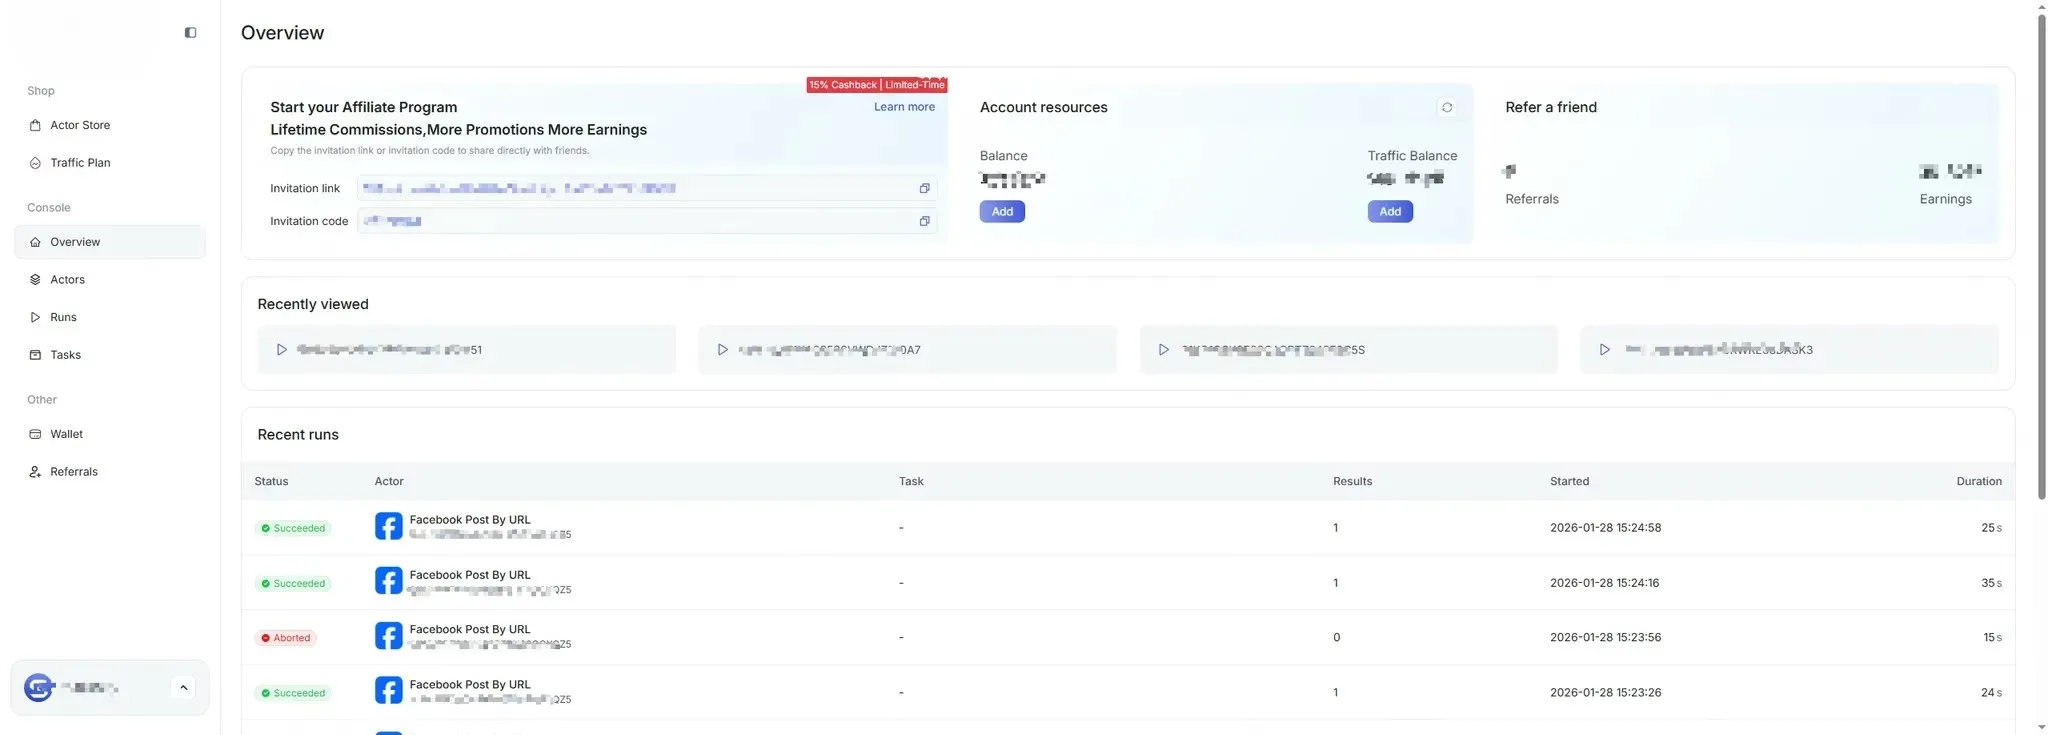
3.2 Enter the Console After Successful Login
Section titled “3.2 Enter the Console After Successful Login”After successful login, users enter the main system console, where they can view task overviews, usage instructions, and other information.
4. Create Scraping Task
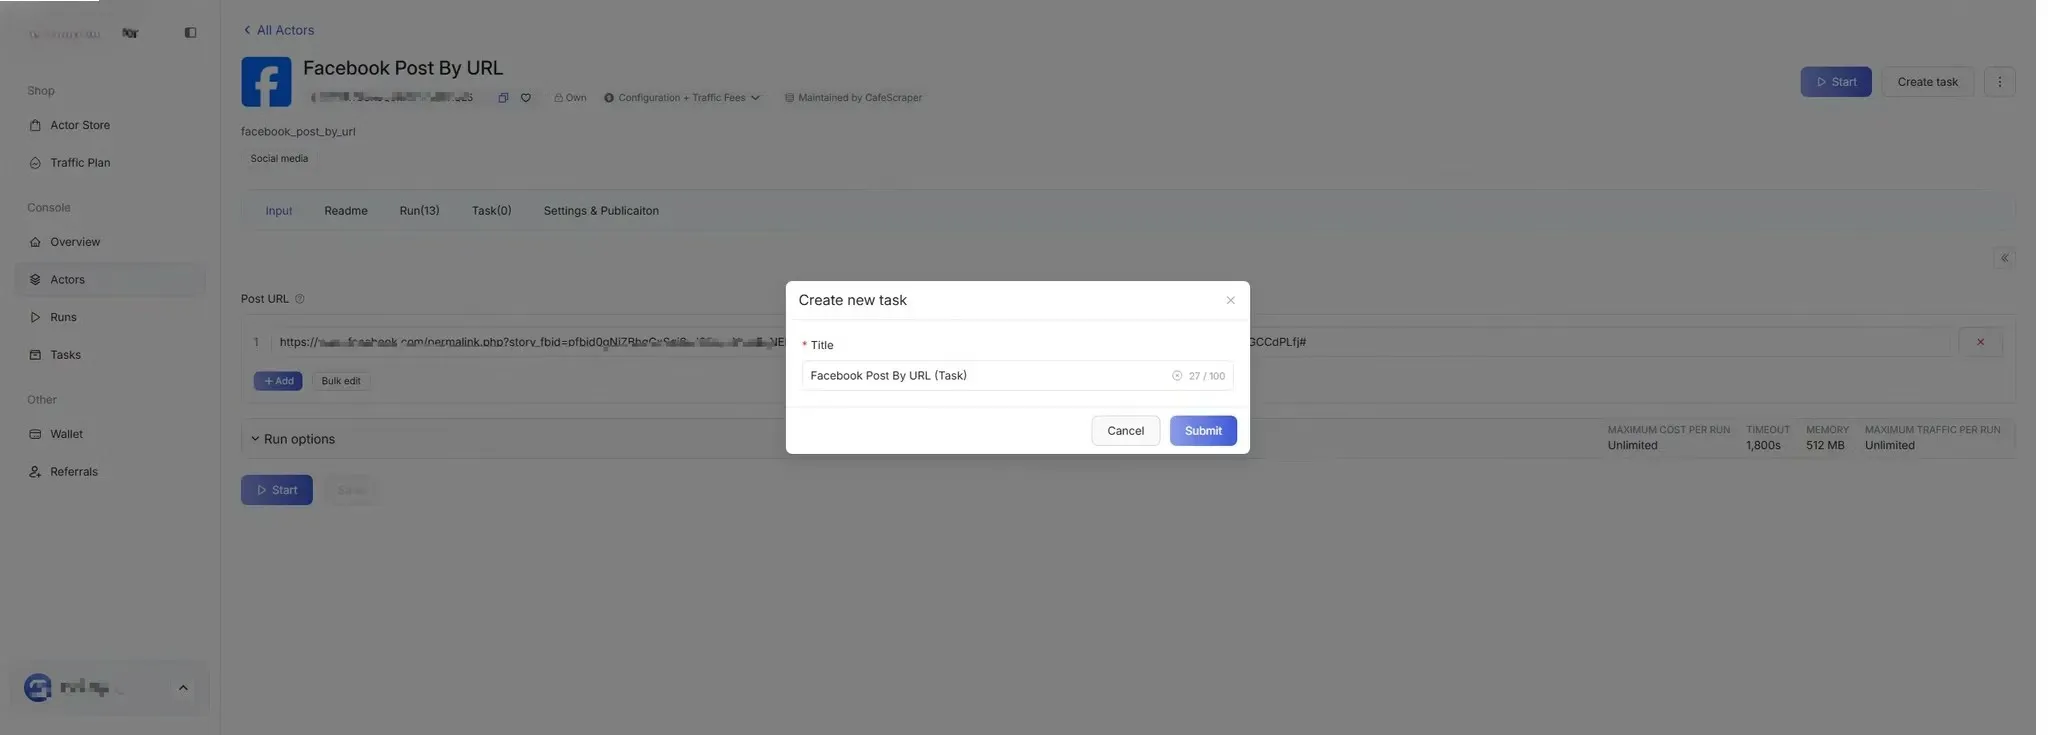
Section titled “4. Create Scraping Task”4.1 Enter Task Management
Section titled “4.1 Enter Task Management”In the left menu, click [Template] → Select the script you want to run (Template).

4.2 Fill in Basic Task Information
Section titled “4.2 Fill in Basic Task Information”When creating a new task, users need to fill in the following:
- Task Name (used to distinguish different tasks)
5. Configure Scraping Parameters
Section titled “5. Configure Scraping Parameters”5.1 Set Scraping Rules
Section titled “5.1 Set Scraping Rules”On the scraping parameter configuration page, users can configure:
- Target page URL / URL patterns
- Data fields to collect (e.g., title, content, timestamp, etc.)
- Whether to enable pagination
- Collection depth / quantity limits
Please configure these options according to the requirements of the selected data collection script.
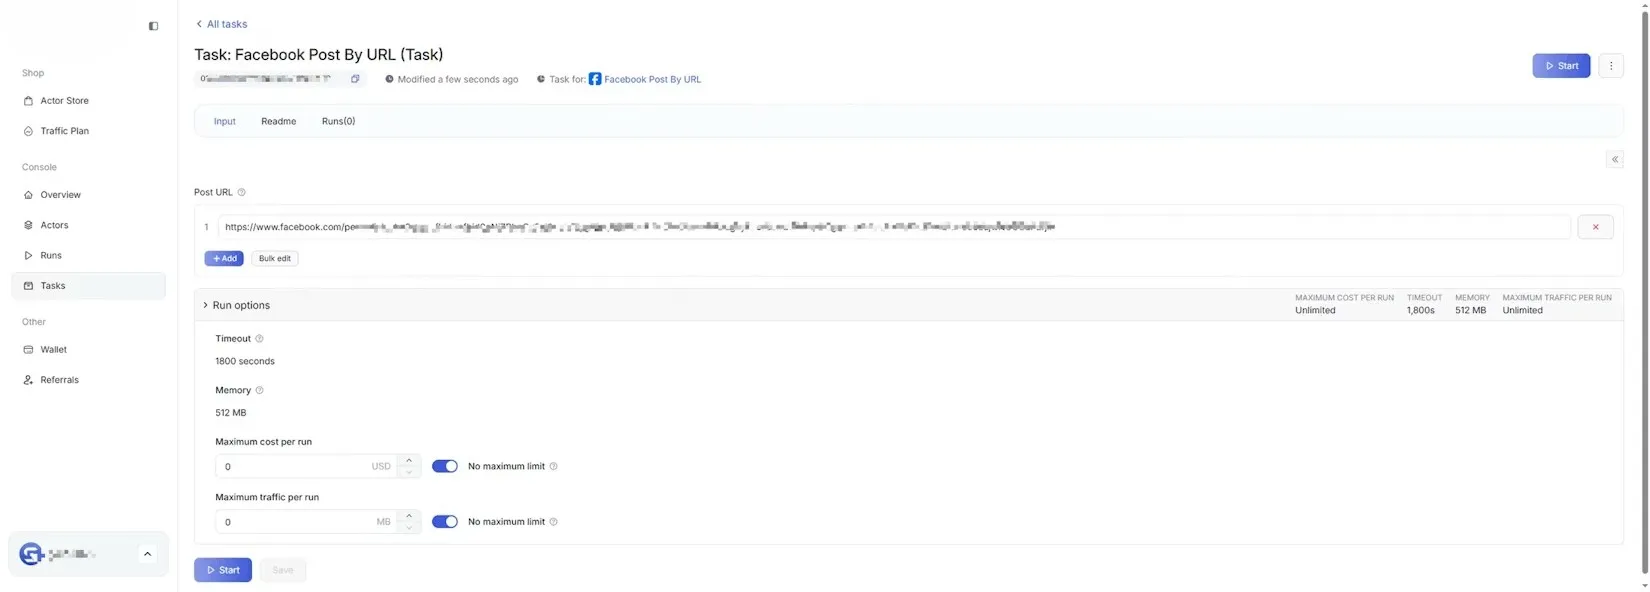
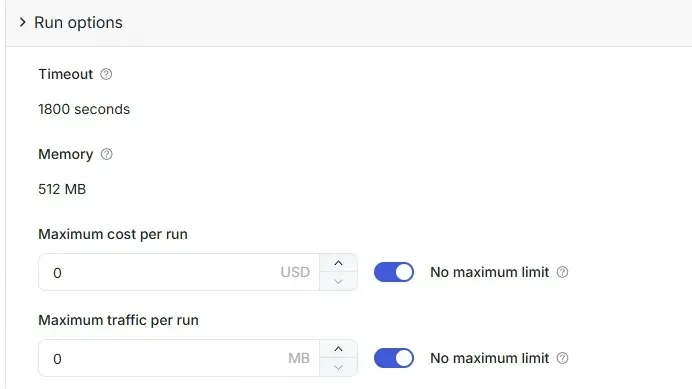
5.2 Advanced Configuration (Optional)
Section titled “5.2 Advanced Configuration (Optional)”Advanced users can configure as needed:
- Concurrency Limits
- Timeout Strategy
- Exception Handling
Regular users can keep the default configuration.
6. Start Scraping Task
Section titled “6. Start Scraping Task”6.1 Start Task
Section titled “6.1 Start Task”After configuring parameters, click the [Start] button.
The system will validate the task, and upon passing validation, the task will enter the running state.
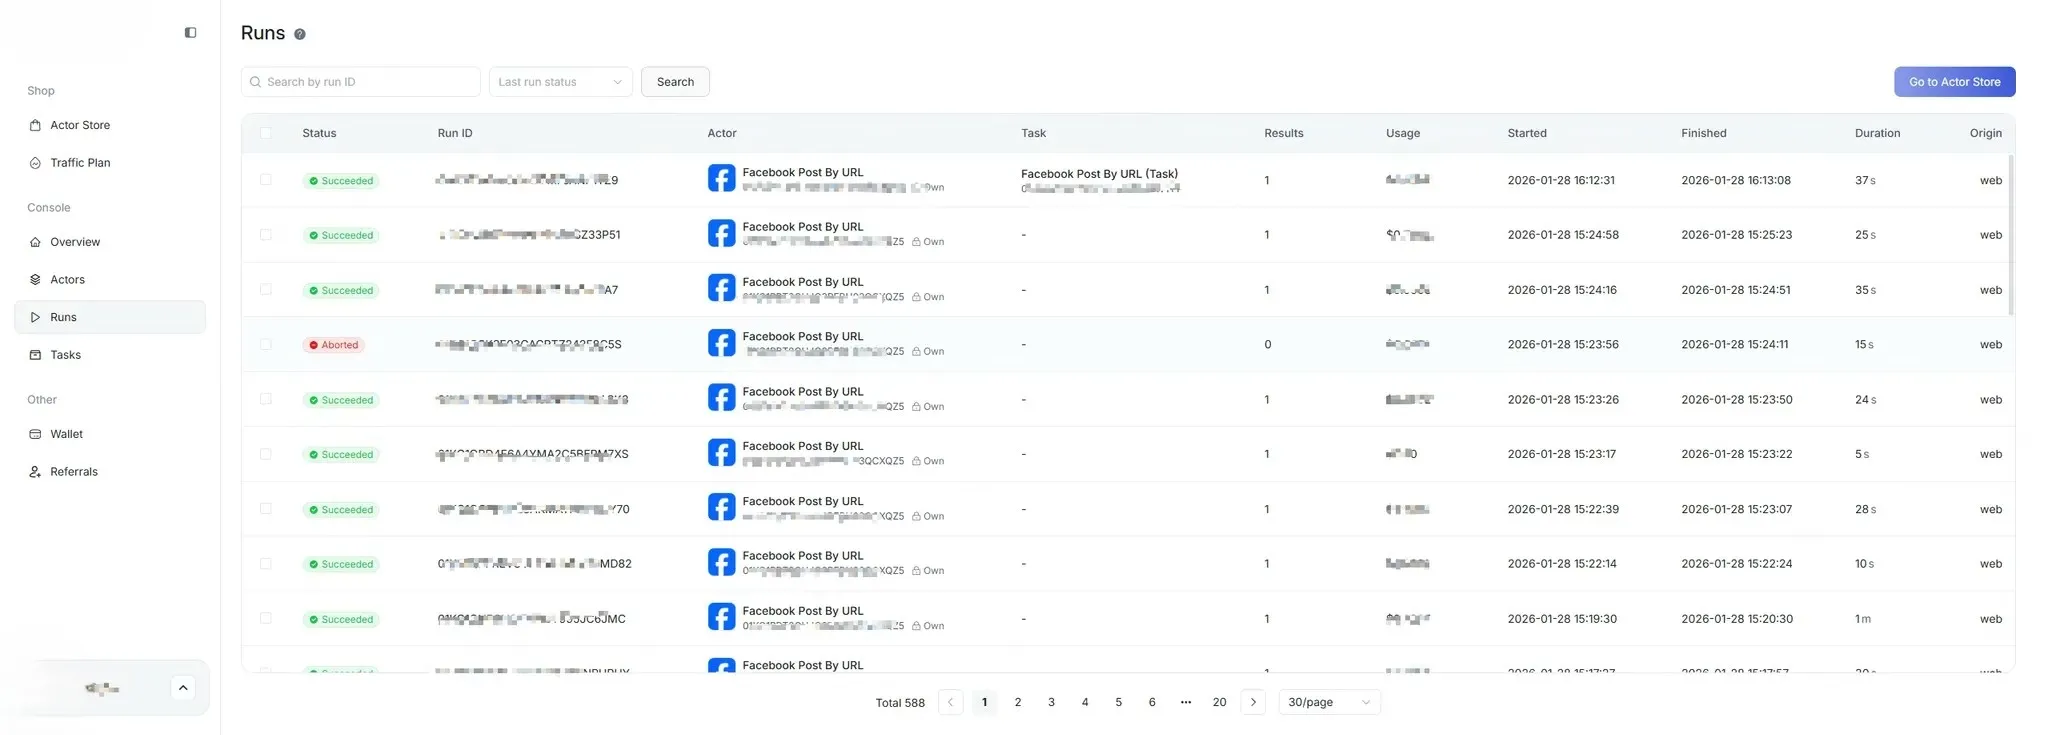
6.2 View Task Status
Section titled “6.2 View Task Status”Users can view task status in the [Run] list:
- Pending
- Running
- Completed
- Failed
- Canceled
7. View Scraping Results
Section titled “7. View Scraping Results”7.1 Enter Results Page
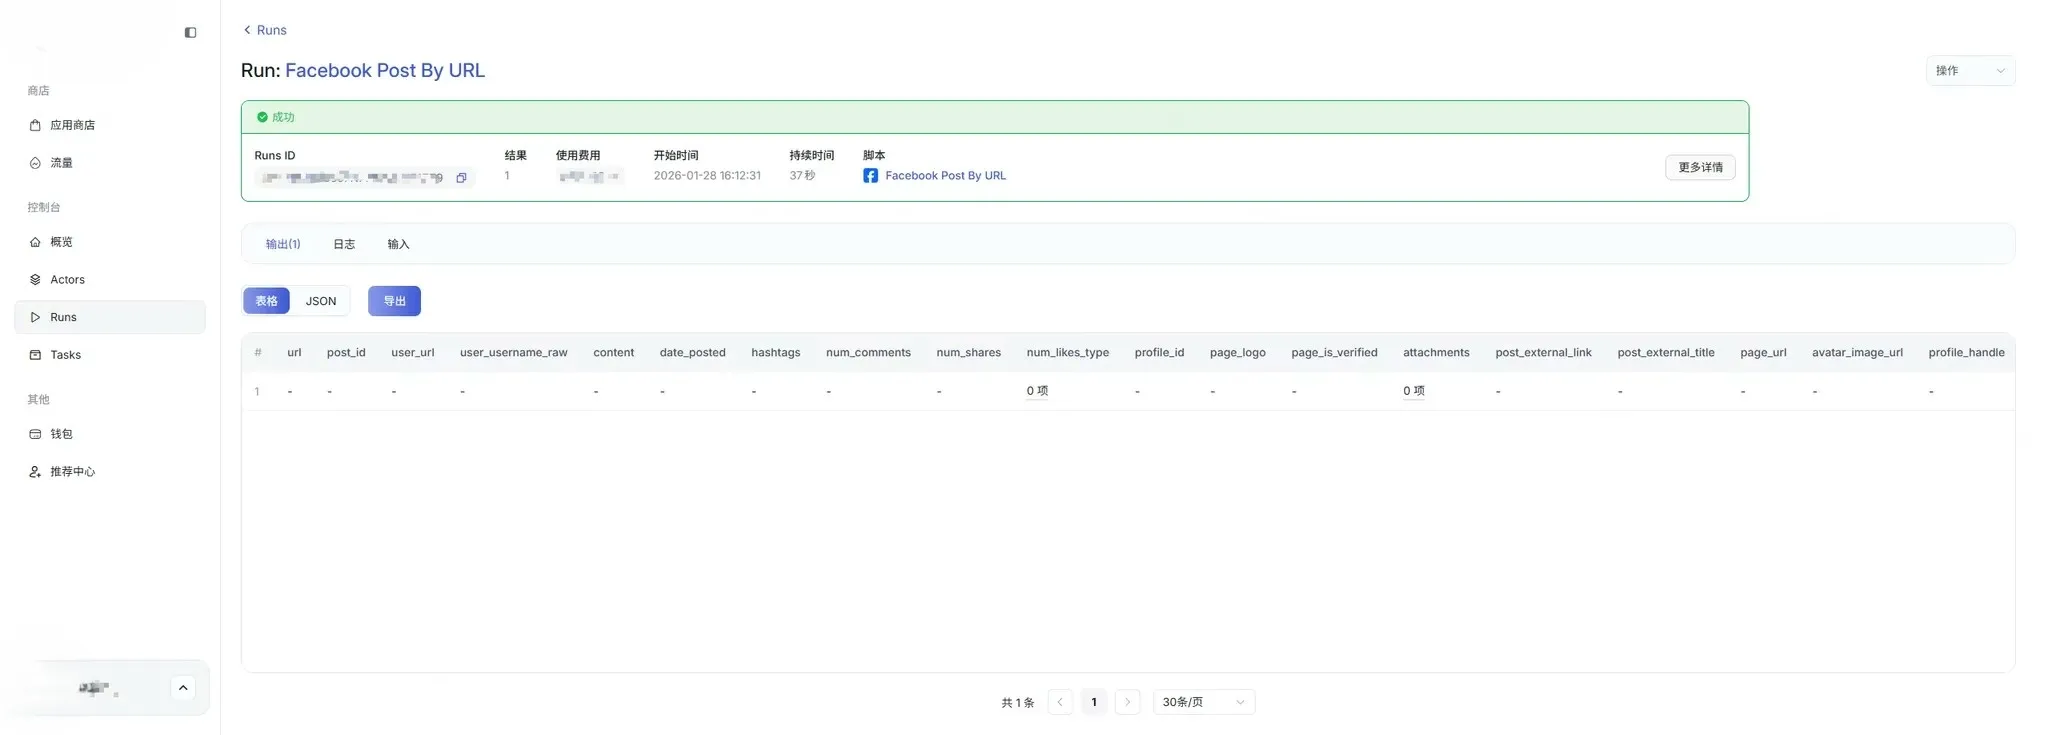
Section titled “7.1 Enter Results Page”After the task is completed, click [Run] → Run IDs on the right side of the task to enter the data results page.
On the results page, users can:
- View the list of scraped data
- View details of a single data entry
- View run logs
- View input parameter details
- View run time, costs, and other information
8. Export Data
Section titled “8. Export Data”8.1 Select Export Method
Section titled “8.1 Select Export Method”In the top right corner of the results table, click the [Export] button.
The system supports the following export formats (depending on permissions):
- CSV
- JSON
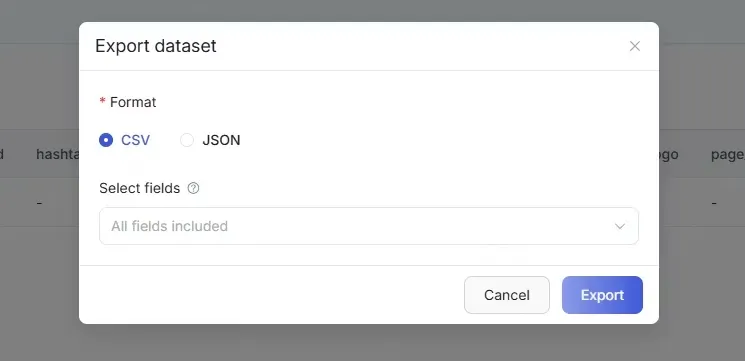
8.2 Execute Export
Section titled “8.2 Execute Export”After selecting the export format, click [Confirm Export].
The system will generate the export file and automatically download it upon completion.
9. FAQ
Section titled “9. FAQ”What to do if the task keeps running?
You can check the task logs or contact the administrator.
What to do if the system shows an error code?
- Record the complete **error code and prompt message**.
- First try **refreshing the page or logging in again**.
- If the error persists, provide the error message to **technical support or the administrator** for quick problem resolution.
What to do if the task keeps running?
You can check the task logs or contact the administrator.
What to do if clicking operation buttons has no response?
- Try refreshing the page.
- Check if your browser version is too old; it is recommended to use the latest version of mainstream browsers like Chrome or Firefox.
- Disable browser plugins (especially ad blockers) and try again.